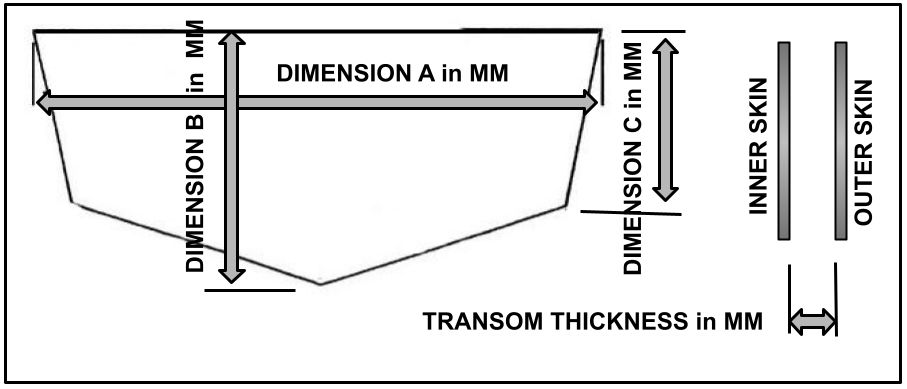
Ensure that the cavity is dry. Remove all rotted timber and vacuum clean. Scrub both inner and outer skins with Acetone before using TransCore. Plug any holes that will leak the liquid TransCore. Once you have determined the correct quantity of material needed to fill the cavity in a continuous pour (see TransCore Calculator) , add the Part B Hardener and mix well. When fully mixed (Base and Hardener), now add the Basalt fibre pack to the mix. Mix no more than the 20 kg Kit at a time. Your working time will vary greatly because of local climatic conditions, but it could be as little as 20 mins or as long as 35 minutes (in cold weather). Each kit has 3 components (1. The base-filled Epoxy Part A, 2. The filled hardener Part B and 3. The bag of Basalt chopped fibres). It is critical to mix exactly the correct amount of components (especially the hardener supplied) with each kit. To mix the product it is best to use a heavy-duty 100mm (4") double-blade mixing attachment with a heavy-duty drill with a 12mm (½”) or larger chuck. Mix the product for 3 minutes. Please note that TransCore will expand slightly when mixed and will generate a slight amount of heat.
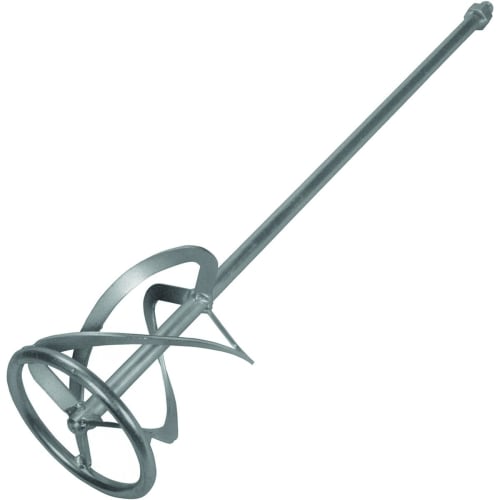 (Suggested mixing drill attachment)
After approximately 5 hours, or better, once the material has fully solidified, carefully remove the dammed panels (if they were used). Now you will be fine to continue with any other work on the transom. Like all epoxies, full strength is obtained over the following days.
* For those wanting to understand a little more about the concept of Transom cores? And why have the two skins (inner and outer)? I have picked up snippets from various sites, but I think the one from Fiberglassics.com does cover the subject well.
The Core Principles:


